Creating and Modifying Cash Advances
|
Page Name |
Definition Name |
Usage |
|---|---|---|
|
TE_ADVANCE |
Create a cash advance request and submit it for approval or save it for further work. |
|
|
TE_ATM_TRANS_SEL |
Select an ATM transaction to add to a cash advance. |
|
|
TE_ATM_TRANS3 |
View details associated with an ATM cash advance. |
|
|
Cash Advance Page |
TE_ADVANCE_RPT |
Print a hard-copy version of your cash advance request that PeopleSoft Expenses formats for manual processing. |
|
EX_ADV_NOTES |
Add notes for cash advances. |
|
|
TE_ADV_NOTES_RPT |
Prints cash advance notes. |
|
|
Submit Confirmation Page |
EX_SUBMIT_CONF_CA |
Confirm that you want to save the cash advance and submit it for further processing. |
|
View Approve Comments Page |
EX_COMMENTS_RJCT |
View approver's comments. |
A cash advance has several parts to complete before submitting it for approval. The way you set up your expenses system determines what kinds of data are required and how your accounting system uses the data. If you have set up a report description and business purpose on the Employee Profile - User Defaults page, then PeopleSoft Expenses prepopulates these fields on cash advances. As you go through the preparation process, you can import advances initiated at an ATM using a corporate credit card. You can save cash advances for further work, or you can submit them for approval.
Use the Create Cash Advance page (TE_ADVANCE) to create a cash advance request and submit it for approval or save it for further work. This page turns into the Modify Cash Advance Report page when you Submit it.
Navigation:
This example illustrates the fields and controls on the Create Cash Advance page. You can find definitions for the fields and controls later on this page.

General Information
Field or Control |
Description |
|---|---|
Description |
Enter a description to identify the cash advance. PeopleSoft Expenses prepopulates this field if you have set up a report description on the Employee Profile - User Defaults page. |
Business Purpose |
Select from a predefined list that was created when implementing your expense system. PeopleSoft Expenses prepopulates this field if you have set up a business purpose on the Employee Profile - User Defaults page. Tax laws require a business purpose to justify business expenses, so completing this field is mandatory before you save the cash advance request for further processing. |
Reference |
Enter free form text or select a reference id that has been pre-defined on the Reference Page. This field is used for tracking or identification. |
Attachments |
Click to access the Cash Advance Attachments page where you can add, delete, or view attachments. |
|
Click to access the Import ATM Advances page and select credit card transactions to import into your cash advance request. This link is available only in create or modify mode. |
View Approver Comments |
Click the View Approver Comments link to access the View Approver Comments page and view all of the approver's comments. When an employee modifies a cash advance that an approver returned to the employee for revisions, PeopleSoft Expenses displays the first 30 characters of the approver's comments as a red link at the top of the Modify Cash Advance Report. This field is only visible when a user is viewing or modifying a cash advance. |
|
Click the User Defaults icon to access the Employee Profile - User Defaults page and view or modify default settings used for cash advances and other expense transactions. |
|
Click the View Printable Version icon to access a printable version of the cash advance request. Use the browser's print button to print a hard-copy version of the cash advance request. |
|
Click the Notes hyperlink to access the cash advance notes page. This icon indicates that some notes have been added to the Cash Advance notes page. You will see a blank note icon in case there are no notes added. |
|
Click the Attachment link to access the Cash Advance Attachments page where you can add, delete, or view attachments. You will see the number of attachments next to the Attachment link depending on the number of files added. |


Details
Field or Control |
Description |
|---|---|
Source |
Select the method of payment to the employee for the cash advance. |
Amount |
Enter an amount you are requesting for the cash advance for each source. |
Accounting Details
Use this section to view or change accounting details or ChartField allocations for the cash advance. If the cash advance has multiple lines, all lines should have the same set of ChartField values.
If you are using employee privilege templates, access to this section depends on the value in the GL ChartFields for the cash advance.
For more information about employee privilege templates:
Totals
Field or Control |
Description |
|---|---|
Advance Amount |
Displays the total amount of the cash advance request. When creating a cash advance report, use the Update Totals button to update this value. |
Save For Later |
Click to save and complete the cash advance request at a later time. |
Submit Cash Advance |
Click to send the completed cash advance request to the approval process. Depending on how you set up your approval and audit rules, PeopleSoft Expenses will send the cash advance for payment processing or forward to an approver's queue. Note: Select the check box prior to the Submit Cash Advance button to enable the Submit Cash Advance button. |
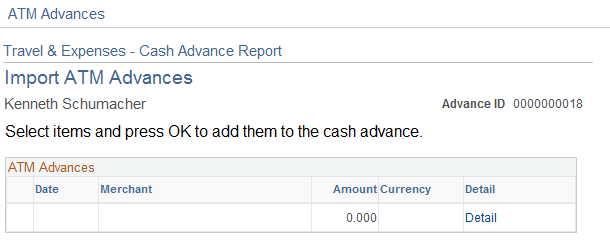
Use the Import ATM Advances page (TE_ATM_TRANS_SEL) to select an ATM transaction to add to a cash advance.
Navigation:
Click the Import ATM Advances link on the Create Cash Advance page.
This example illustrates the fields and controls on the Import ATM Advances. You can find definitions for the fields and controls later on this page.
Field or Control |
Description |
|---|---|
Date |
Displays the date that the employee initiated the ATM advance. |
Merchant |
Displays the supplier from whom the advance was transacted. |
Amount |
Displays the amount of the ATM transaction. |
Currency |
Displays the currency. |
Detail |
Click to access the ATM Advance Detail page and view more information about the ATM transaction. |
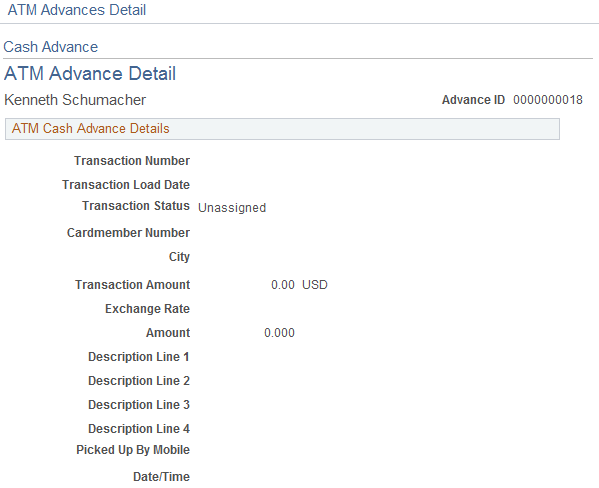
Use the ATM Advance Detail page (TE_ATM_TRANS3) to view details associated with an ATM cash advance.
Navigation:
Click the Detail link on the Import ATM Advances page.
This example illustrates the fields and controls on the ATM Advance Detail page. You can find definitions for the fields and controls later on this page.
Field or Control |
Description |
|---|---|
Transaction Number |
Displays the transaction number associated with the ATM advance. |
Trans Load Date (transaction load date) |
Displays the date that your system loaded the ATM advance. |
Transaction Status |
Displays whether the ATM advance is assigned to a cash advance. |
Cardmember Number |
Displays the employee's corporate credit card number. |
Transaction Amount |
Displays the amount spent for the expense item. |
Exchange Rate |
Displays the rate used to convert the ATM transaction to the base currency of the employee's business unit. |
Amount |
Displays the amount in the base currency of the employee's general ledger business unit. |
Description Line 1-4 |
Displays additional details regarding the ATM transaction. |
Picked Up By Mobile |
Not used by PeopleSoft Expenses. |
Date/Time |
Displays the date and time of the ATM transaction. |
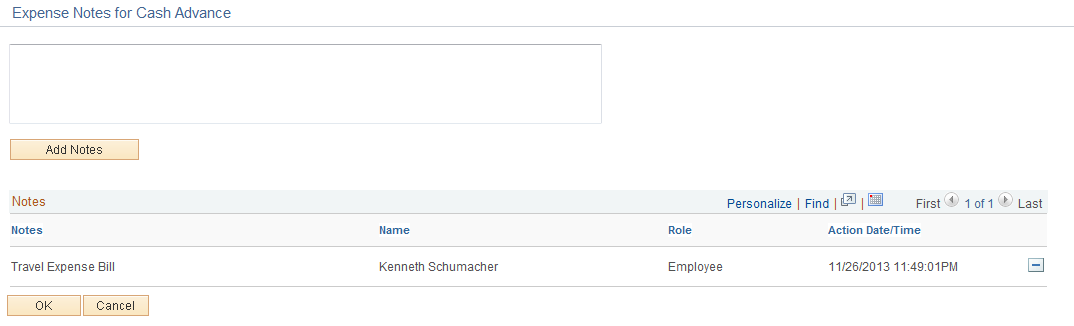
Use the Expense Notes - Cash Advance page (EX_ADV_NOTES) to add notes for Cash advances.
Navigation:
Click the Notes link on the Cash Advance Page
This example illustrates the fields and controls on the Expense Notes - Cash Advance Page. You can find definitions for the fields and controls later on this page.
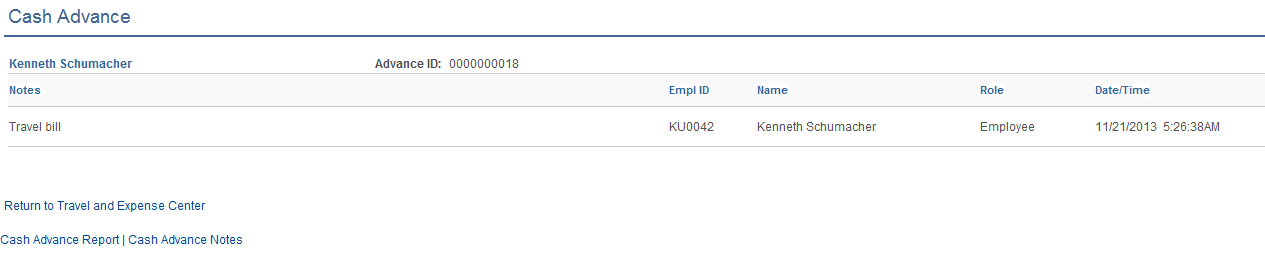
Use the Cash Advance - Notes print page (TE_ADV_NOTES_RPT) to print cash advance notes.
Navigation:
Click the View Printable Version link/icon on the Modify/View Cash Advance Report then Cash Advance Notes link.
This example illustrates the fields and controls on the Cash Advance - Notes print page.