Setting Up and Personalizing PeopleSoft Fluid WorkCenters
|
Page Name |
Definition Name |
Usage |
|---|---|---|
|
FSPC_ADMIN_MAIN |
Define configuration IDs for Classic WorkCenters and Dashboards, and Fluid WorkCenters. |
|
|
FSPC_ADMIN_MYWORK |
Set up My Work links for end users. |
|
|
EOWC_WORKLINKS_FL |
Personalize your display options for the My Work and Links pagelets. |
|
|
EOWC_WORKFILTER_FL |
Modify filters for the My Work pagelet as an end user. |
|
|
EOWC_EDITVIEWLK_FL |
Change scope detail options for sections in the My Work pagelet. |
|
|
EOWC_EDITVIEWBY_FL |
Determine the order of your scope labels and access additional maintenance pages. |
|
|
EOWC_EDITVIEWN_SCF |
Create a new scope. |
|
|
EOWC_EDITVIEWVA_FL |
Modify filter values for your scope option. |
|
|
FL_WRKCENTER_EMAIL |
Register the WorkCenter fluid page for which an email notification is required. |
|
|
FL_EMAILNTFY_SCF |
Notify one or more users of an action they need to take for a transaction. |
Use the Personalize page (EOWC_PERSONAL_FL) to personalize your display options for the My Work and Links group boxes.
Navigation:
Select the <Application> WorkCenter (Fluid). Click the Personalize icon and then select Personalize option.
This example illustrates the fields and controls on the Personalize page.

End users use this page to modify display options for their links in the My Work and Links group boxes.
Use the Edit Filters Personalize page (EOWC_WORKFILTER_FL) (Fluid) to modify filter values as an end user.
Navigation:
Select the <Application> WorkCenter (Fluid). Click the Personalize icon and then select Edit Filters.
Navigation:
This example illustrates the fields and controls on the Edit Filters Personalize Page (Fluid).
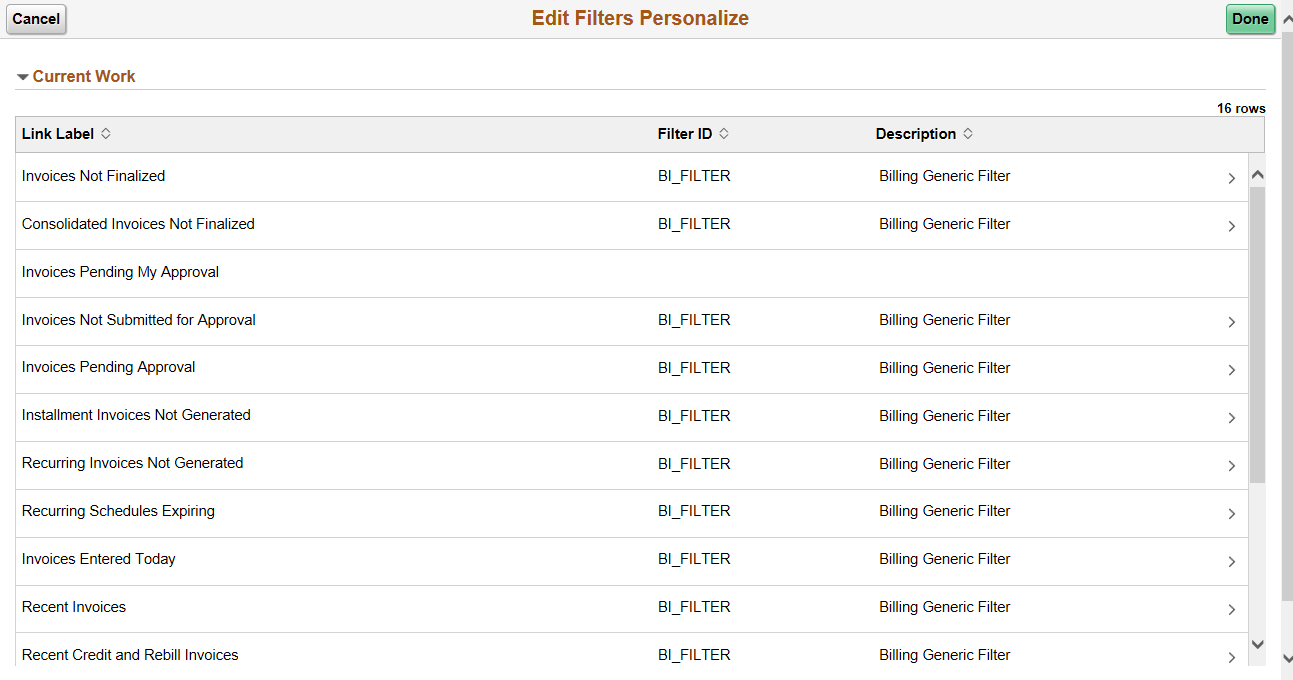
Field or Control |
Description |
|---|---|
(right arrow) (My Work Links |
Click the My Work Links icon (right arrow) to access the Configure Filter Values Page for the filter ID. |
Use the Maintain Scope Detail page (EOWC_EDITVIEWLK_FL) to change scope detail options for collapsible sections in the My Work group box.
Navigation:
Select the <Application> WorkCenter (Fluid). Click the Personalize icon, then select Maintain Scope Detail.
This example illustrates the fields and controls on the Maintain Scope Detail Page (Fluid).
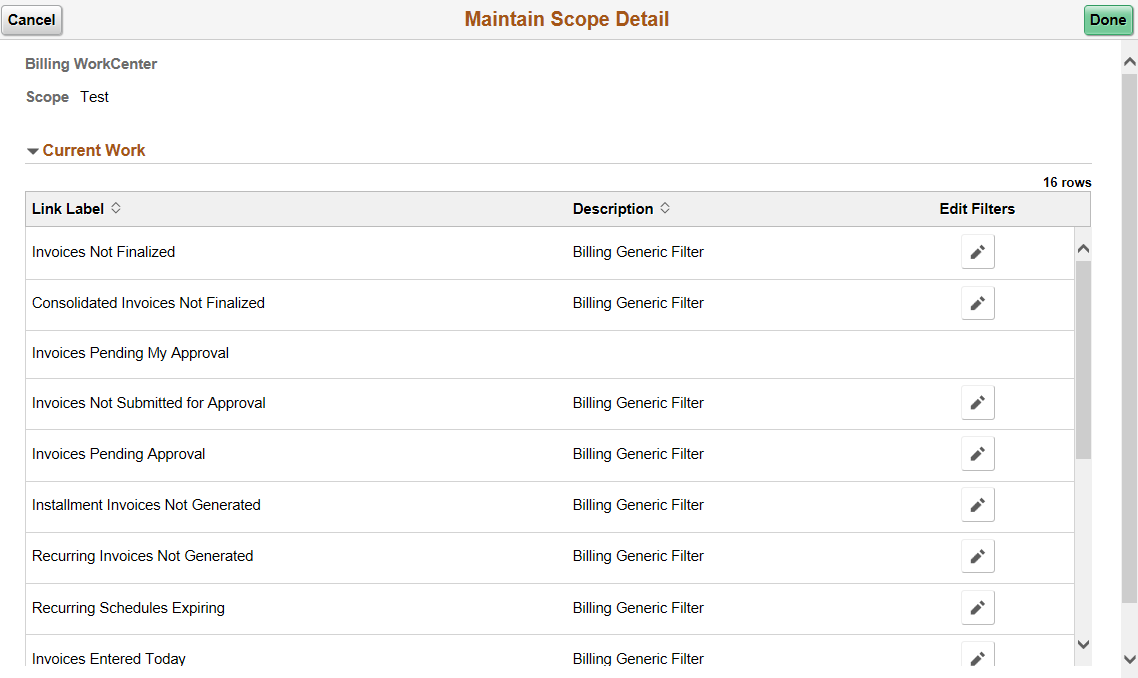
Note: This page is only available when the user has access to the Scope field.
Field or Control |
Description |
|---|---|
Edits Filters |
Click to access the Setting Up and Personalizing PeopleSoft Fluid WorkCenters. |
Use the Configure Scope page (EOWC_EDITVIEWBY_FL) to determine the order of your scope labels and access additional pages.
Navigation:
This example illustrates the fields and controls on the Configure Scope Page (Fluid).
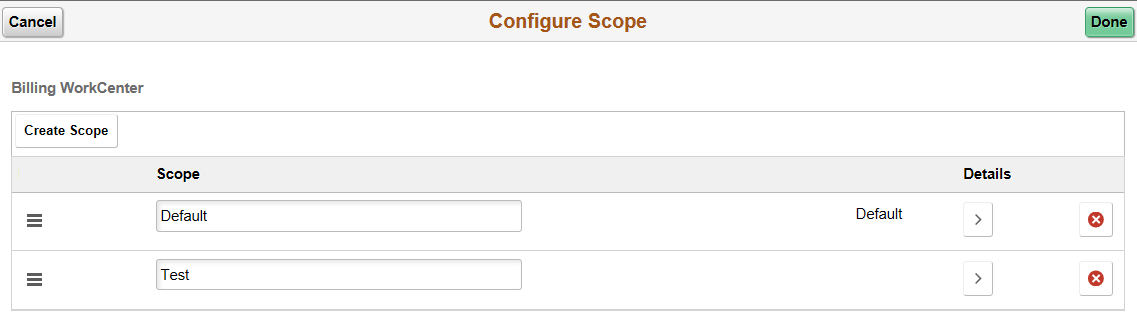
Note: This page is only available when the user has access to the Scope field.
Field or Control |
Description |
|---|---|
Done |
Click to refresh the page. When clicking this button, the system refreshes to the last order used. |
Create Scope |
Click this button to access the Setting Up and Personalizing PeopleSoft Fluid WorkCenters, where you can copy from an existing scope label. |
|
Use the Scope icon to reorder the list of Scopes created. The order you determine on this page determines the order in which the Scopes appear when you use the Scope drop–down field in the My Work group box. To change the order, click, drag, and drop the Scope icon in the desired order. (This option is not available for Classic WorkCenters.) The first row is always the default scope option, so make sure that your desired default view is at the top. |
Details |
Click the Details button to access the Setting Up and Personalizing PeopleSoft Fluid WorkCenters. |
 (Scope)
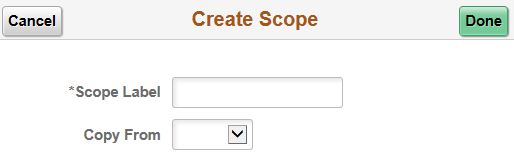
Use the Create Scope page (EOWC_EDITVIEWN_SCF) to create a new scope.
Navigation:
Click the Create Scope button.
This example illustrates the fields and controls on the Create Scope Page (Fluid).
Field or Control |
Description |
|---|---|
Copy From |
Enter or select an existing scope from which to copy. |
Done |
Click this button to create or copy a scope. |
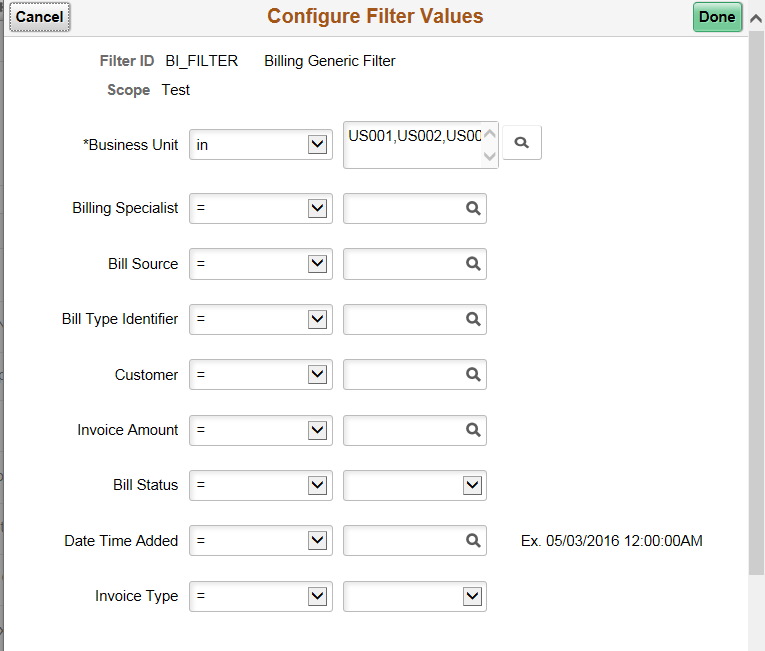
Use the Configure Filter Values page (EOWC_EDITVIEWVA_FL) to modify filter values for your link.
Navigation:
Select a row.
This example illustrates the fields and controls on the Configure Filter Values Page (Fluid).
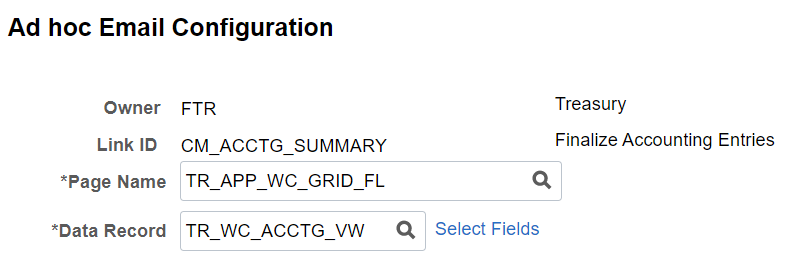
Use the Ad hoc Email Configuration page (FL_WRKCENTER_EMAIL) to register the WorkCenter fluid page for which an email notification is required.
Navigation:
This example illustrates the fields and controls on the Ad hoc Email Configuration page. You can find definitions for the fields and controls later on this page.
Field or Control |
Description |
|---|---|
Owner |
Displays the product owner ID. |
Link ID |
Displays the WorkCenter link ID. Each My Work link in a fluid WorkCenter page has a unique link ID. |
Page Name |
Select the WorkCenter fluid page on which an email notification option is required. |
Data Record |
Select the data record from which data is populated on the WorkCenter fluid page. |
Select Fields |
Select the fields to be displayed in the email notification. If you do not select any fields, then the process picks the first three key fields of the data record. If the data record does not have any key fields defined, then the first three non-key fields are displayed in the email notification. |
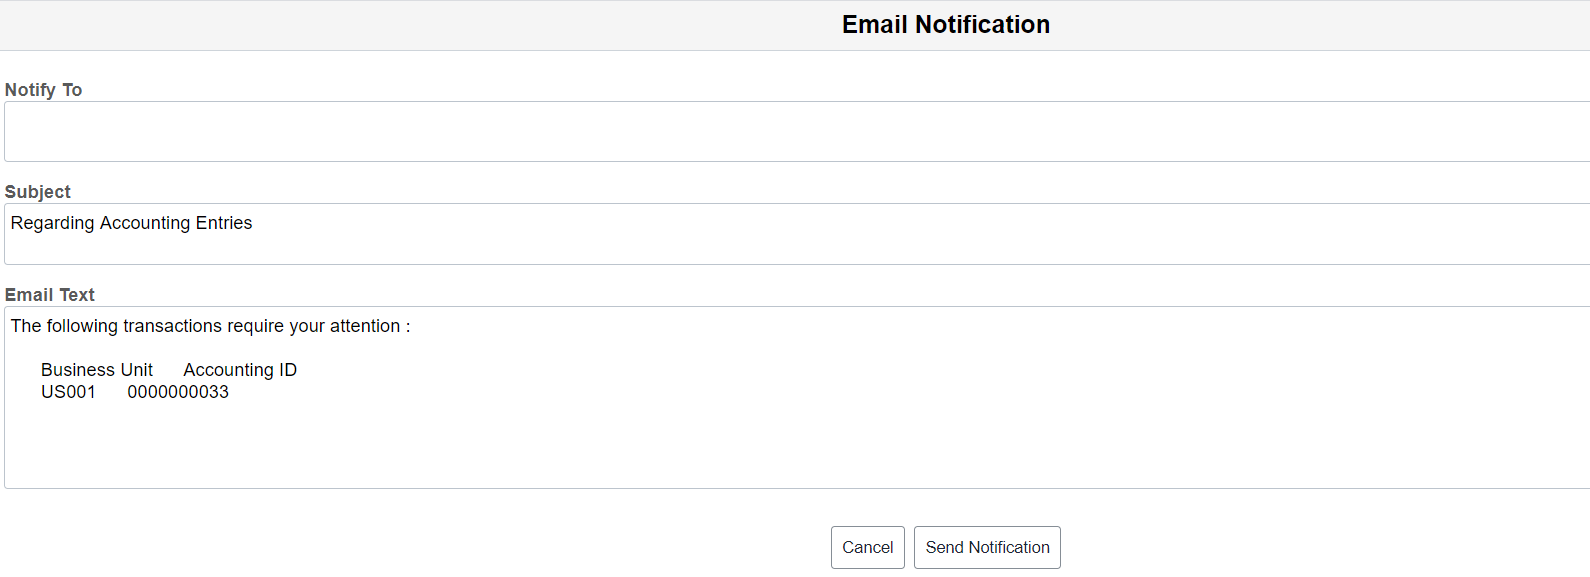
Use the Email Notification page (FL_EMAILNTFY_SCF) to notify one or more users of an action they need to take for a transaction.
You need to follow the given steps to set up the email notification framework:
Register the fluid pages on which the email notification option has to be provided. See Ad hoc Email Configuration Page for more information.
Use DMS/DAT files to migrate the email notification setup.
In Application designer, open the fluid page on which the email notification option has to be provided and add a secondary page. Enter page name as FL_EMAILNTFY_SCF.
Add the following PeopleCode in the fluid page activate event.
Component string &strLinkID; /* Added for Email Notification */
&strLinkID = %Request.GetParameter("SystemLinkID"); /* Added for Email Notification */
Access Manage Related Content for Content References page and add a Related Action for the fluid page on which email notification option has to be provided. For more information, see PeopleTools: Portal Technology. Use FL_WORKCENTER_ADHOC_EMAIL as the Service ID for the Email Notification related action.
Note: Email Notification is not available in small form factor (SFF).
Navigation:
Select the Actions icon from the Fluid WorkCenter and select Email Notification.
This example illustrates the fields and controls on the Email Notification page. You can find definitions for the fields and controls later on this page.
Field or Control |
Description |
|---|---|
Notify To |
Add the users to notify. |
Subject and Email Text |
The system adds this information based on the transactions selected from the previous page. You can edit the email text. See Ad hoc Email Configuration Page for more information. |
Note: For Fluid pages that do not have a related content reference, add a work record field (button) on the fluid page. Use FL_WC_EMAIL_WRK as the record name and SENDMAILFIELD as the field name for the button. Invoke the ad hoc email framework.