Setting Up Prompt Tables for Change Requests
To set up prompt tables for change requests, use the Sub Type (RG_UD_REQ_SUB_TYPE), Status (RG_UD_REQ_STATUS), Request Type (RG_UD_REQ_TYPE), Resolution (RG_UD_REQ_RESO), Priority (RG_UD_REQ_PRTY), Phase (RG_UD_REQ_STATE), Impact (RG_UD_REQ_IMPACT), Category (RG_UD_REQ_CATGY), Business Reason (RG_UD_REQ_BUSR), Component Audit (RG_UD_COMP_AUDIT), Note Type (RG_UD_REQ_NOTT), Relationship Type (RG_UD_REL_TYPE), Status Transition (RG_UD_PHS_TRANS) components.
This topic discusses how to set up prompt tables for change requests.
|
Page Name |
Definition Name |
Usage |
|---|---|---|
|
RG_UD_REQ_BUSR |
Set up change request business reasons. |
|
|
RG_UD_REQ_CATGY |
Set up change request categories. |
|
|
RG_UD_REQ_AUDIT |
Select the record or table name for which you want the system to generate and maintain audit records. |
|
|
RG_UD_REQ_IMPACT |
Set up change request impact values. |
|
|
RG_UD_REQ_NOTT |
Set up note types. |
|
|
RG_UD_REQ_STATE |
Set up change request phases. |
|
|
RG_UD_REQ_PRTY |
Set up change request priorities. |
|
|
RG_UD_REL_TYPE |
Set up descriptions of relationships that you want to appear on the Relate Existing Change Request page for change management cases that have a correlation in some way. |
|
|
RG_UD_REQ_RESO |
Set up change request resolutions. |
|
|
RG_UD_REQ_TYPE |
Set up change request types. |
|
|
RG_UD_REQ_STATUS |
Set up change request statuses. |
|
|
RG_UD_PHS_TRANS |
Set up notifications when a change in status occurs. |
|
|
RG_UD_REQ_SUB_TYPE |
Set up change request subtypes. |
Use the Business Reason page (RG_UD_REQ_BUSR) to set up change request business reasons.
Navigation:
This example illustrates the fields and controls on the Business Reason page.
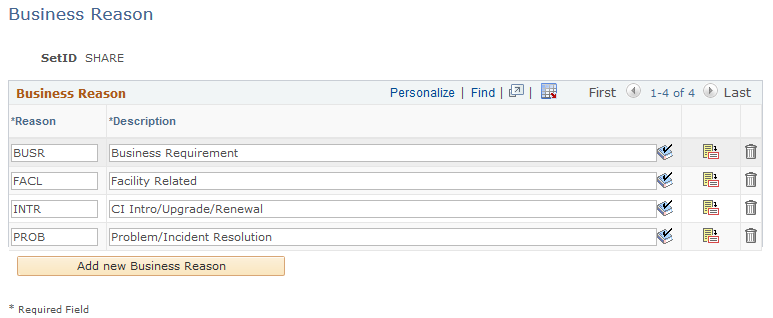
Enter an abbreviation for the reason and the description that you want to appear on the Change Request page in the Business Reason drop-down list box. The Business Reason field appears in the Change Request section on the main Change Request page.
Use the Category page (RG_UD_REQ_CATGY) to set up change request categories.
Navigation:
This example illustrates the fields and controls on the Category page.
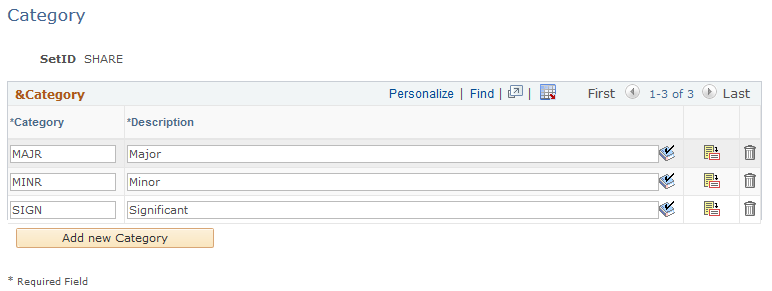
Enter an abbreviation for the category and the description that you want to appear on the Change Request page in the Category drop-down list box. The Category field appears in the Change Control section on the main Change Request page.
Use the Component Audit page (RG_UD_REQ_AUDIT) to select the record or table name for which you want the system to generate and maintain audit records.
Navigation:
This example illustrates the fields and controls on the Component Audit page.

Select the record or table name that you want the system to audit. Then select the Change check box next to the actions for which you want the system to generate and maintain audit records. PeopleSoft CRM delivers this page with the Change check box selected for all the records and table names that are listed.
If you select the Add check box, and a row is added to the table, then the system generates an audit record and it is included in the audit report. The same is true for the Change and Delete check boxes.
Selecting the Change check box causes the system to generate audit records for everything except adds. Selecting the Delete check box would only generate audits for actions that were deleted.
Note: Selecting both the Delete and Change check boxes would be redundant and is not recommended.
Use the Impact page (RG_UD_REQ_IMPACT) to set up change request impact values.
Navigation:
This example illustrates the fields and controls on the Impact page.
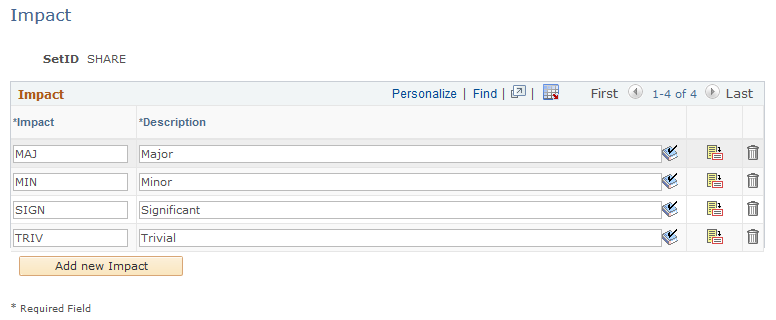
Enter an abbreviation for the impact and the description that you want to appear on the Change Request page in the Impact drop-down list box. The Impact field appears in the Change Control section on the main Change Request page.
Use the Note Type page (RG_UD_REQ_NOTT) to set up note types.
Navigation:
This example illustrates the fields and controls on the Note Type page.
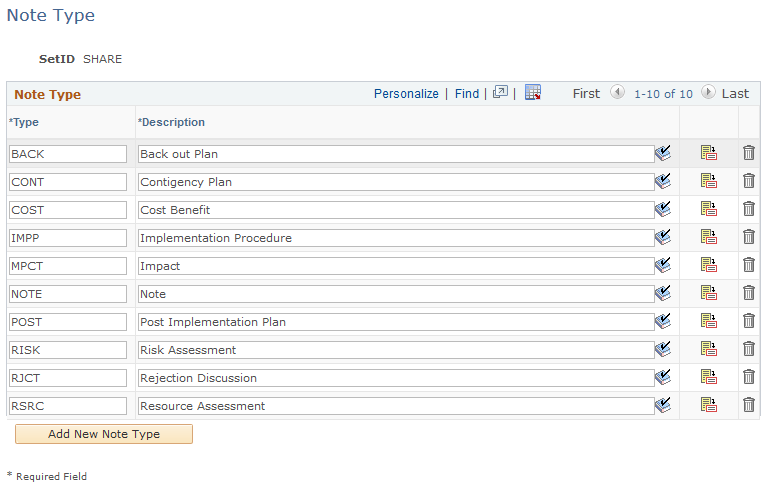
Enter an abbreviation for the note type and the description that you want to appear in the Type drop-down list box on the Change Request - Notes page.
Use the Phase page (RG_UD_REQ_STATE) to set up change request phases.
Navigation:
This example illustrates the fields and controls on the Phase page.
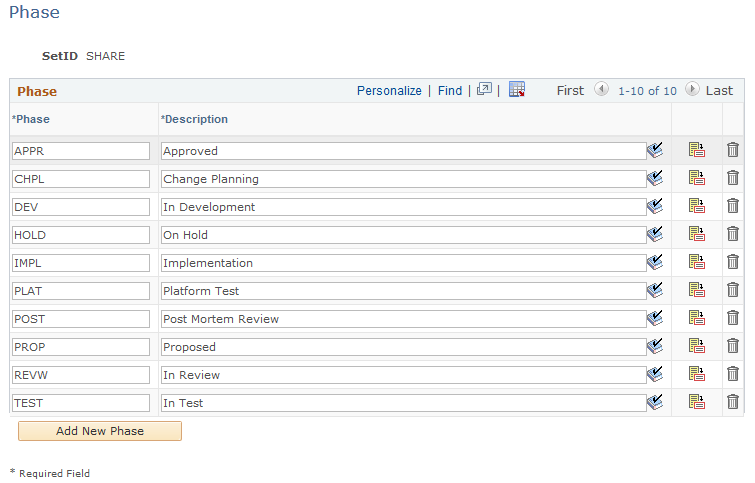
Enter an abbreviation for the phase and the description that you want to appear on the Change Request page in the Phase drop-down list box. The Phase field appears in the Phase Summary section on the main Change Request page.
Use the Priority page (RG_UD_REQ_PRTY) to set up change request priorities.
Navigation:
This example illustrates the fields and controls on the Priority page.
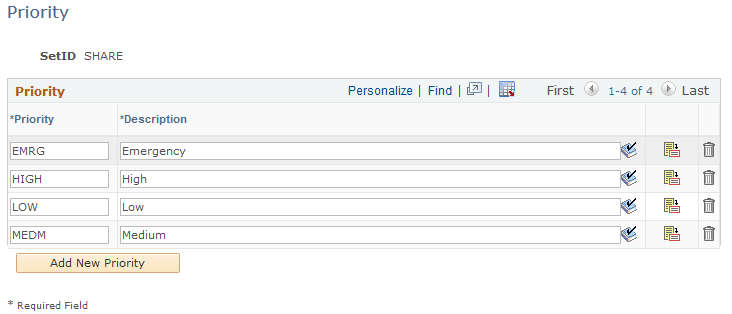
Enter an abbreviation for the priority and the description that you want to appear on the Change Request page in the Priority drop-down list box. The Priority field appears in the Change Request section on the main Change Request page.
Use the Relationship Types page (RG_UD_REL_TYPE) to set up descriptions of relationships that you want to appear on the Relate Existing Change Request page for change management cases that have a correlation in some way.
Navigation:
This example illustrates the fields and controls on the Relationship Types page.
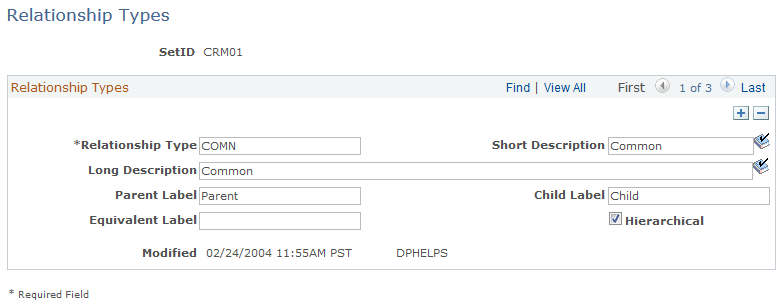
Enter an abbreviation for the relationship type and the description that you want to appear in the Relationship Type drop-down list box on the Relate Existing Change Request page.
Select the Hierarchical check box to identify the relationship type as being either the parent or the child to the other relationship type (not an equal relationship type).
When you are recording a related change request, the system prompts you for a relationship type. When you select the 1st relationship type and the hierarchical check box is selected, then the hierarchical check box must be selected for the 2nd relationship type. The system also enforces the converse.
You access this page by clicking the Add Related Change button on the Change Request - Related Changes page.
Use the Resolution page (RG_UD_REQ_RESO) to set up change request resolutions.
Navigation:
This example illustrates the fields and controls on the Resolution page.
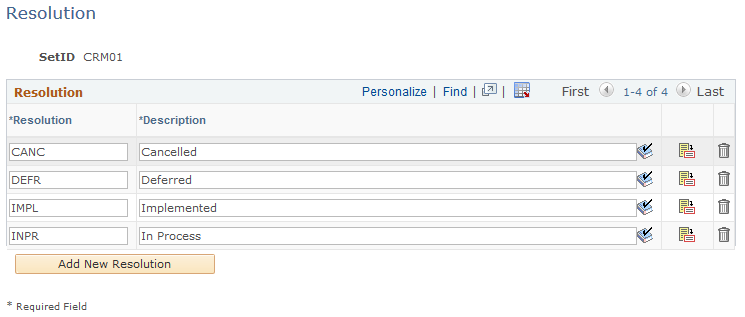
Enter an abbreviation for the resolution and the description that you want to appear on the Change Request page in the Resolution drop-down list box. The Resolution field appears in the Change Control section on the main Change Request page.
Use the Request Type page (RG_UD_REQ_TYPE) to set up change request types.
Navigation:
This example illustrates the fields and controls on the Request Type page.
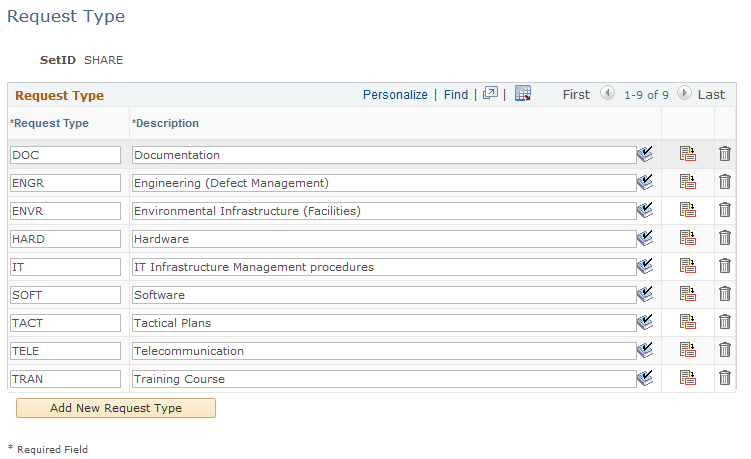
Enter an abbreviation for the request type and the description that you want to appear on the Change Request page in the Request Type drop-down list box. The Request Type field appears in the Change Request section on the main Change Request page.
Use the Status page (RG_UD_REQ_STATUS) to set up change request statuses.
Navigation:
This example illustrates the fields and controls on the Status page.
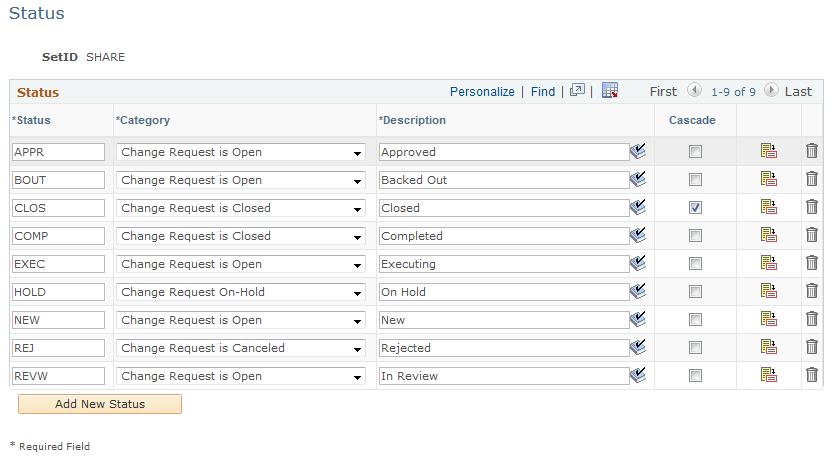
Enter an abbreviation for the status and the description that you want to appear on the Change Request page in the Status drop-down list box. The Status field appears in the Change Request section on the main Change Request page.
Select a value from the Category drop-down list box to indicate the status category of each status you define. The Change Request Audit History will display the Closed Date and Time and the User ID and name when the status of the Change Request has been changed to a status whose category value is Closed or Canceled.
Use the Status Transition page (RG_UD_PHS_TRANS) to set up notifications when a change in status occurs.
Navigation:
This example illustrates the fields and controls on the Status Transition page.
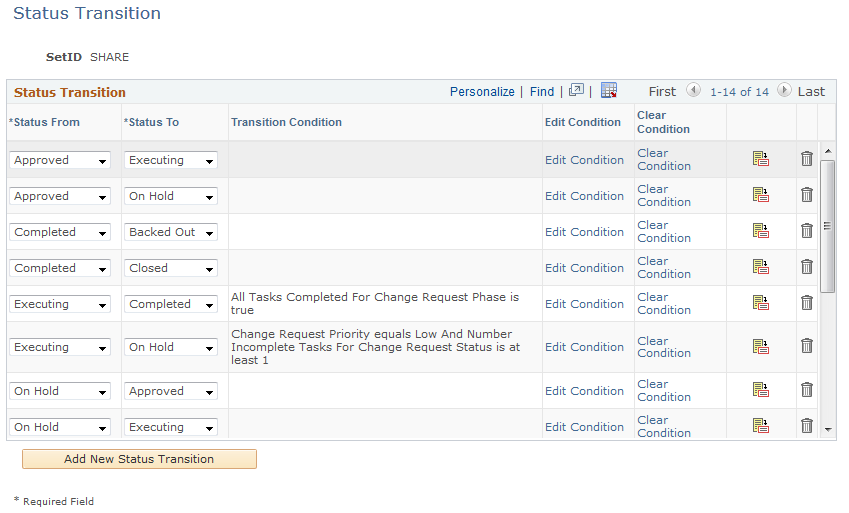
Use this page to build rules to automatically change the status of a change request when certain conditions are met or initiate other events when certain conditions are true.
Select a value from the Status From drop-down list box to indicate the initial status of the change request. Select a value from the Status To drop-down list box that you want the system to use when a certain condition is met or initiate a certain action when a user changes the status.
Click the Edit Condition link to select the terms that you want the system to use to change the status of the change request or alter the fields on the change request.
When you click the Select Term link on the Edit Condition page, use only the terms that appear under the Change Request folder.
Note: When the transition condition is true, the system triggers AAF actions. For example, when the status of the change request changes from New to Approved and the Priority is Emergency, then this transition condition will be true and AAF will initiate an action when the change request is saved. The system checks all status transitions at save time to determine if they are true and sets off any AAF actions that are associated with the new condition.
Use the Sub Type page (RG_UD_REQ_SUB_TYPE) to set up change request subtypes.
Navigation:
This example illustrates the fields and controls on the Sub Type page.

Field or Control |
Description |
|---|---|
Request Type |
Select a request type. |
Sub Type |
Enter a subtype. |
Description |
Enter a description for the subtype that you want to appear on the Change Request page in the Sub Type drop-down list box. The Sub Type field appears in the Change Request section on the main Change Request page. |