Setting Up Absence Assistant
This topic discusses how to configure Absence Assistant chatbot for absence management.
|
Page Name |
Definition Name |
Usage |
|---|---|---|
|
EOCB_BOTDEFN_FL |
Access to view the existing chatbot configurations and newly define a chatbot. By default, the Absence Assistant tile is not enabled to personalize under Employee Self Service. The Administrator has to enable it by using the process mentioned in Enabling Absence Assistant. |
|
|
EOCB_BRNDTMPL_FL |
Use to define the template to brand the chatbot. |
Use the Fluid Attributes tab (PORTAL_GROUPLET) in Content Ref Administration (PORTAL_CREF_ADM) page to add the Absence Assistant tile to any homepage.
Navigation:
.
Then select .
Under Content References, select Edit for the label Absence Assistant and select Fluid Attributes tab.
This example illustrates the fields and controls on the Content Ref Administration page.
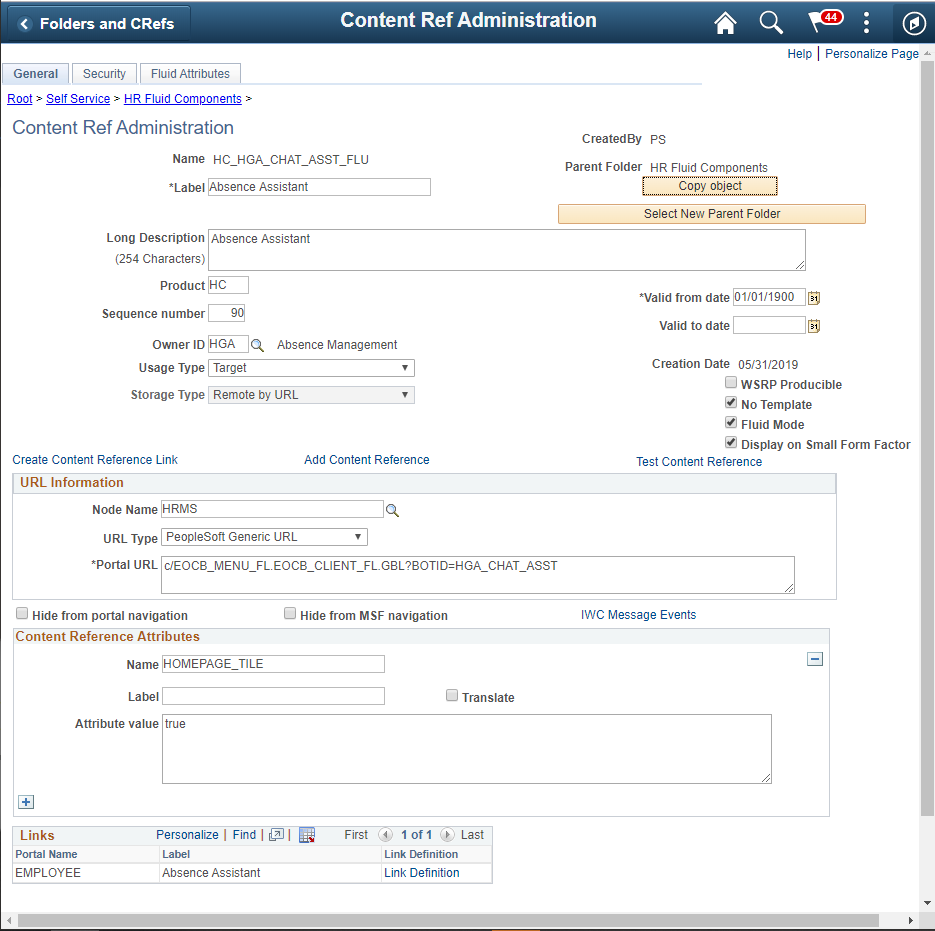
Select the Fluid Attributes tab to open the Tile Repository section.
This example illustrates the fields and controls on the Fluid Attributes tab.
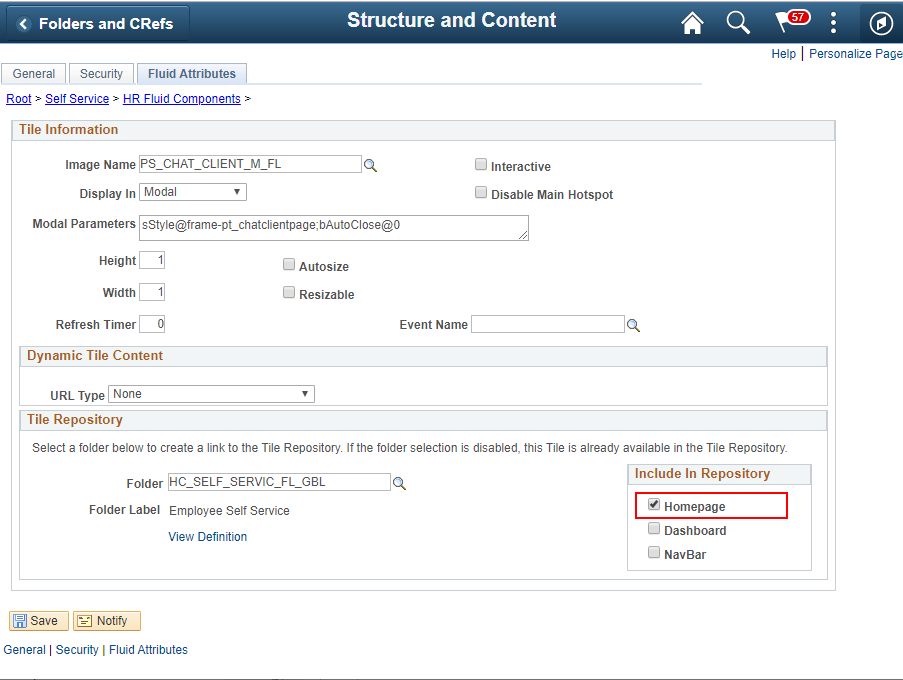
Select the Homepage checkbox under Include In Repository to enable the Absence Assistant tile to the homepage.
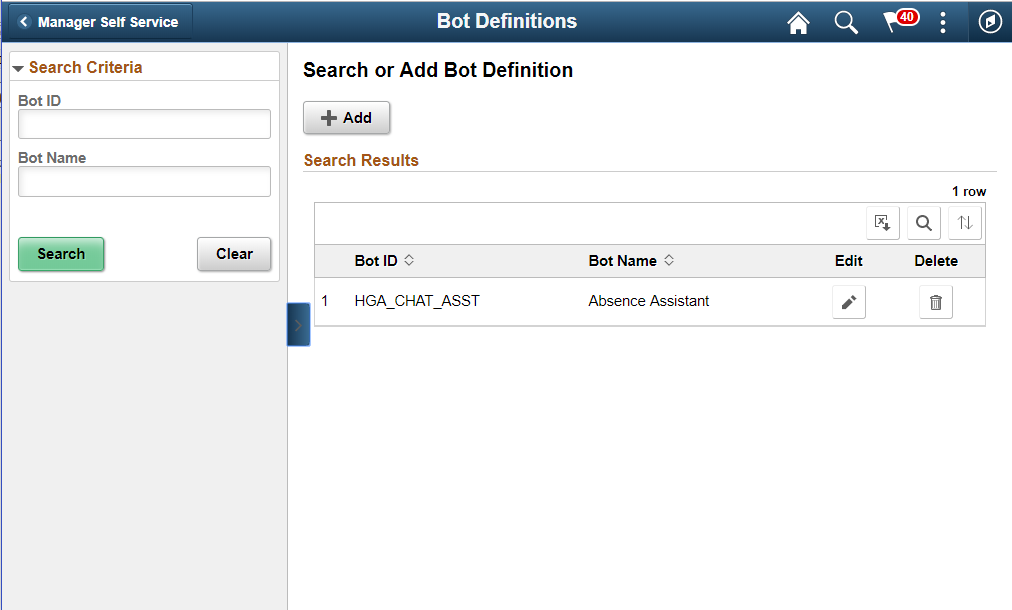
Use the Bot Definition (EOCB_BOTDEFN_FL) page to view the existing chatbot identifiers and newly define a chatbot.
Navigation:
This example illustrates the fields and controls on the Bot Definition Page. You can find definitions for the fields and controls later on this page.
Field or Control |
Description |
|---|---|
|
Select Add to open the intermediate page using which Bot definition is added. |

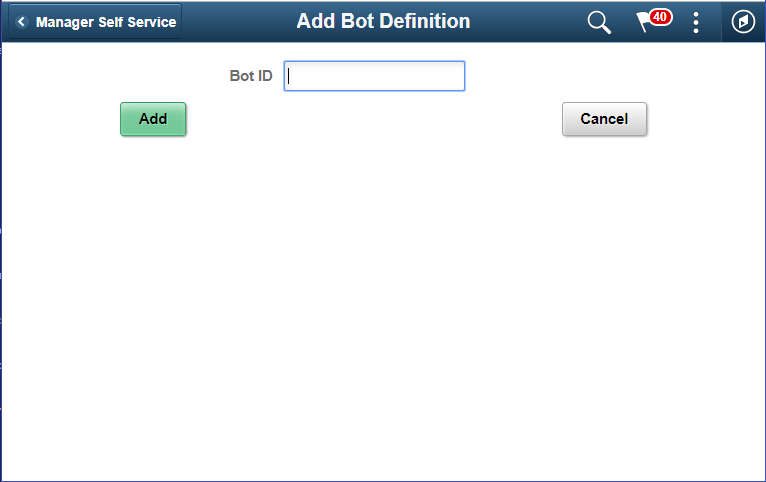
This example illustrates the fields and controls on the Add Bot Definition Page. You can find definitions for the fields and controls later on this page.
This example illustrates the fields and controls on the Bot definition page with definition. You can find definitions for the fields and controls later on this page.
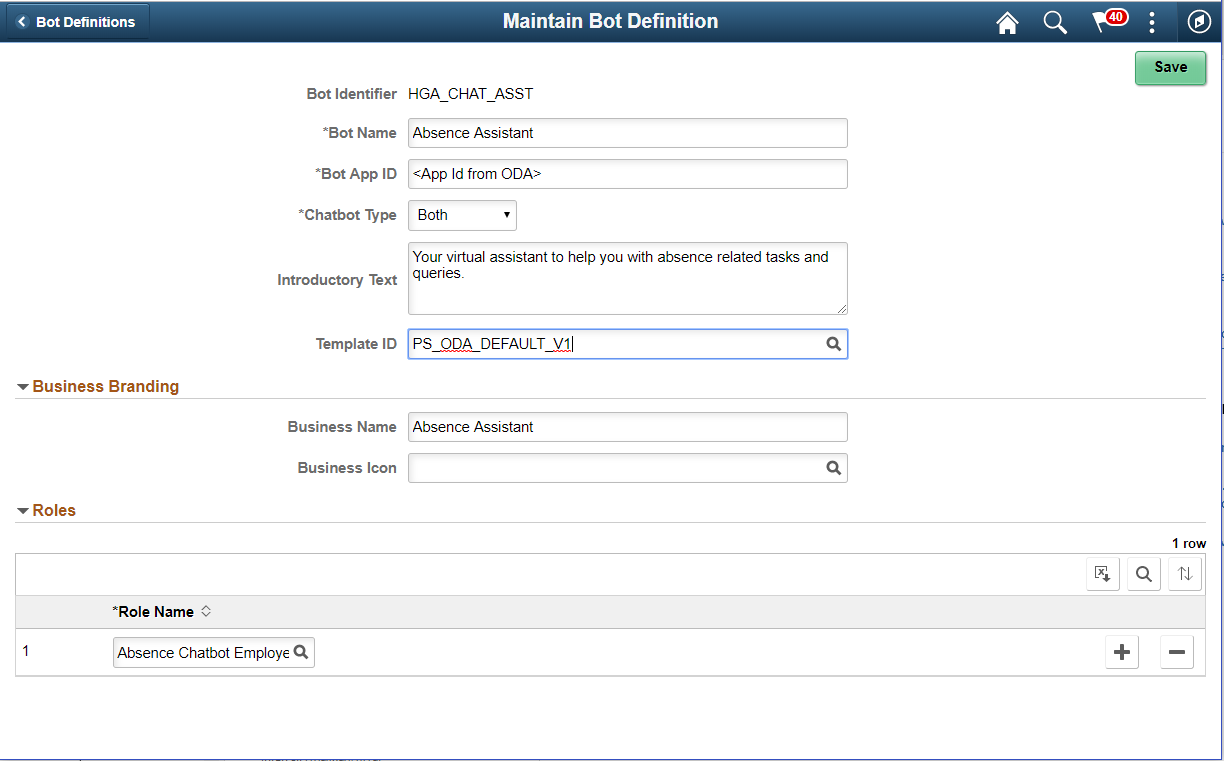
Field or Control |
Description |
|---|---|
Bot Identifier |
Root package ID defined in application server. |
Bot Name |
Name of the chatbot. |
Bot App ID |
Specify the app ID generated by the ODA Skill created for this chatbot. This links this chatbot with the skill in the ODA. |
Chatbot Type |
Choose whether to deploy the chatbot client as a tile or as a widget in a page or both. Chatbot types are embedded (for components) and widget (bottom right hand button). |
Introductory Text |
The descriptive text that appears in the header section (below Business name) of messaging area. |
Business Name |
Name of the chatbot as it will appear to the users. |
Business Image |
Bot icon as per business need. Refer, PeopleTools: Creating Image Definitions, for more information. |
Component Name |
Choose the Component Name that should be linked with. |
Role Name |
Choose the roles that should be given access to this chatbot. |
For more details, refer Enterprise Components Documentation Understanding the Chatbot Architecture.