Viewing Expense Documents
System administrators can view expense documents for all employees.
Setting Up how to View Expense Documents
To set up the View Expense Documents feature use the: EX_AUDITOR or Time and Expense Administrator roles.
Add the EX_AUDITOR or Time and Expense Administrator roles to users who should have access to the Expenses Admin View Page.
Add the Expense Admin View Tile to the appropriate homepage(s).
Use this page to view expense documents for all employees of your organization.
|
Page Name |
Definition Name |
Usage |
|---|---|---|
|
EX_ADMIN_VIEW_FL |
View all expense documents in your organization as an expense administrator. |
Add the Expense Admin View tile to any homepage.
This example illustrates the Expenses Admin View tile.

For additional information about how to add a tile to a PeopleSoft Fluid Homepage, see Adding Homepages and Tiles and PeopleTools: Application User's Guide "Working With PeopleSoft Fluid User Interface", Working with Fluid Homepages and Dashboards, Managing Tiles on Fluid Homepages and Dashboards.
Use the Expenses Admin View page (EX_ADMIN_VIEW_FL) to view all expense documents in your organization as an expense administrator.
Navigation:
Select the Expenses Admin View tile.
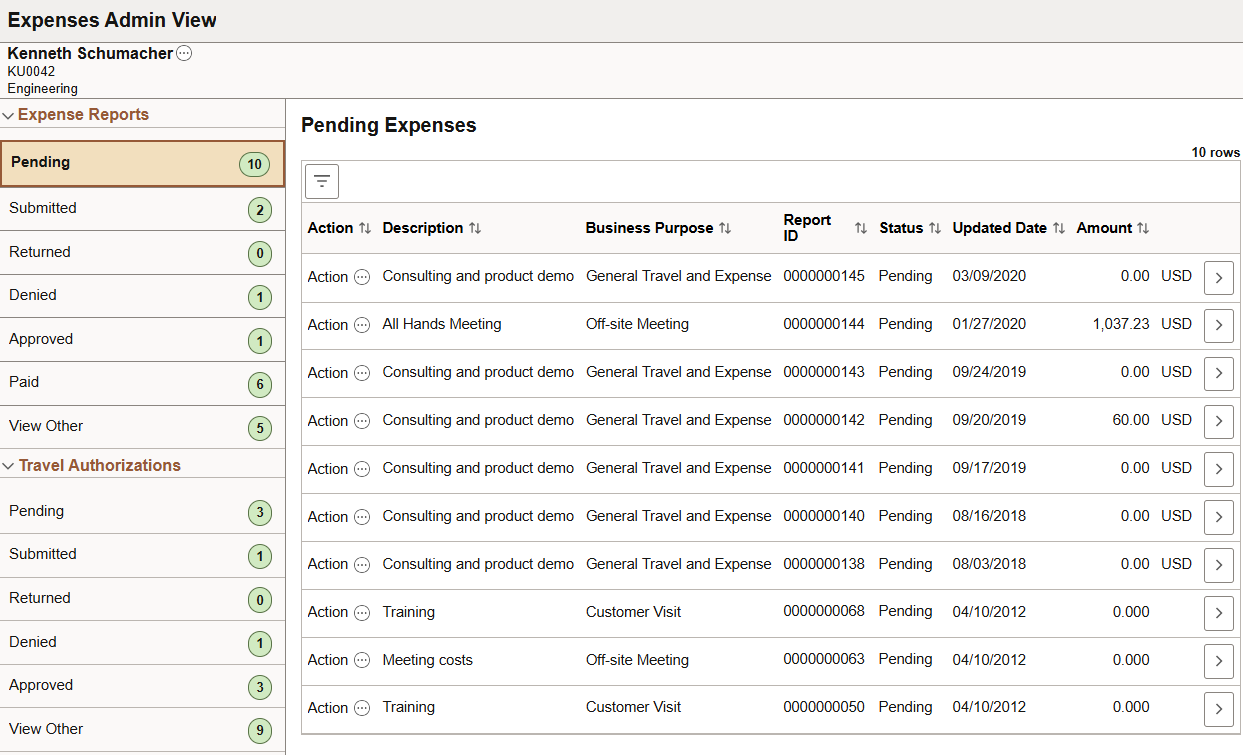
This example illustrates the fields and controls on the Expenses Admin View page.

Expense Reports
The left hand navigation displays all expense report statuses. Select the status on the left to display all expense reports on the right, in a grid format.
|
Field or Control |
Description |
|---|---|
|
|
Select to perform and action on the row. Action options include: Delete Report - Select to delete an expense report. The expense report statuses that allow you to delete are: Pending, Denied, and Approved. Note: If a cash advance is associate with an expense report and the expense report is deleted, then the cash amount applied to the expense report is added back to the cash advance. |
|
View Detail arrow |
Select to access the Expense Entry Page in view mode. |
Travel Authorizations
The left hand navigation displays all travel authorization statuses. Select the status on the left to display all travel authorizations on the right, in a grid format. Use the View Detail arrow to access the Travel Authorization Page (add) in view mode.
