Using the PeopleSoft Fluid Interface to View Cases
Employees use the My Cases tile to access the My Cases page.
|
Page Name |
Definition Name |
Usage |
|---|---|---|
|
CR_RC_CASE_SS_SRCH_FL_GBL |
Use My Cases tile to access My Cases page. |
|
|
RC_CASE_SS_SRCH_FL |
Use My Cases page to view a list of cases that are currently associated with the logged in employee |
Use the My Cases tile to access the My Cases page..
Navigation:
Click the HR Service Center tile available in the Employee Self Service home page. The My Cases tile is available on the HR Service Center dashboard.
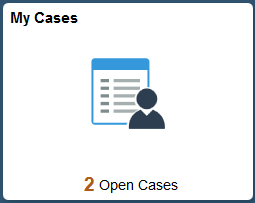
This example illustrates the My Cases tile for the tablet.
This example illustrates the My Cases tile for the smartphone.
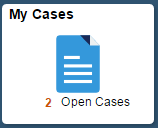
The tile displays number of open cases.
Select the reason for adding the interested party, and click the Save button to add an interested party to the case.
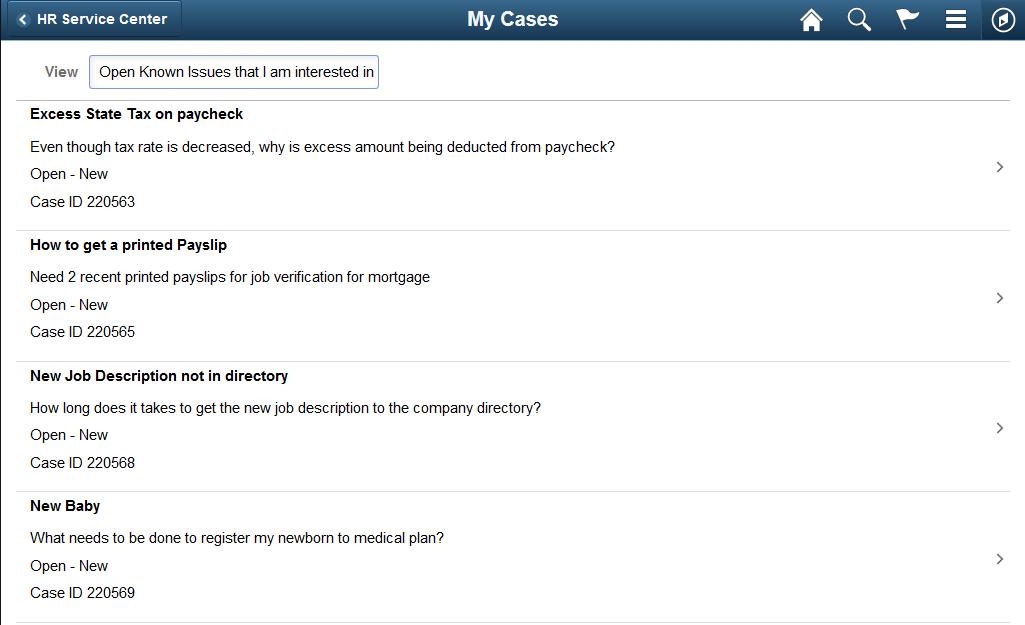
The predefined searches available are:
All known issues that I am interested in
All cases that I am the contact for
All my cases
All my cases related to Program/Service
All my open cases
Cases that I reported for others
Open known issues that I am interested in
Open cases that I am the contact for
Open cases that I reported for others
Navigation:
Click the My Cases tile available on the HR Service Center dashboard.
Click the My Cases button available on the Case Submitted page.
Note: My open cases is the default view when the employee clicks on the My Cases tile and is taken to the corresponding page.
This example illustrates the fields and controls on the My Cases page for the tablet.
This example illustrates the fields and controls on the My Cases page for the smartphone.

Clicking the case summary transfers the user to view the case details and make updates, such as adding notes and attachments, reopen the case or close the case if the user no longer requires help.
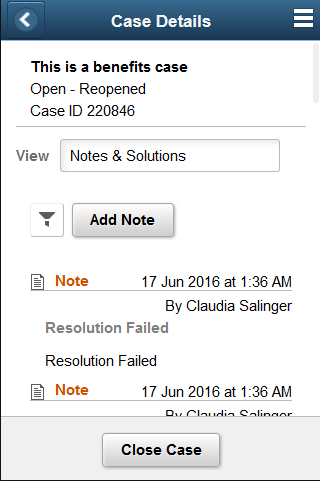
Use the Case Details page displays the case details such as case category, status, summary, description, and priority. This page is also the starting point for several other processes: adding notes, changing contact information, requesting that an agent contact the user, reopening a case, and viewing solutions that are already under consideration for this case. An administrator can decide which all processes need to be delivered based on the Display Template (CRM_HHD_MCASE_FL) set up.
Navigation:
On the HR Service Center home page, click a case in the My Cases page.
Select a case from the list of search results on the My Cases page.
This example illustrates the fields and controls on the Case Details page for the tablet.

Field or Control |
Description |
|---|---|
Notify Agent |
Click this button to send appropriate notification to agents. PeopleSoft delivers AAF objects (trigger points, action types, and terms) to support this process. The delivered AAF objects send notifications to the assignee (agent, provider group, or call center manager). Separate email and work list notifications enable the system to send notifications using the recipient's preferred notification method. By default, this button is hidden by means of display template. |
Close Case |
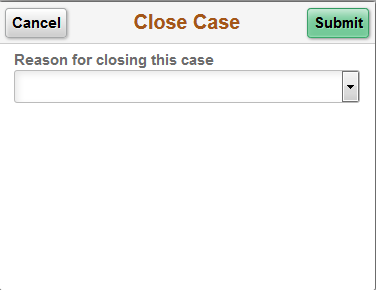
Click the Close Case button to close a case at any time. This button is available only if the business unit rules permit self-service users to close cases. On clicking this button, user is presented with a Close Case modal window (RC_SS_CLOSECASE_FL) |
This example illustrates the fields and controls on the Close Case modal window.
Field or Control |
Description |
|---|---|
Reason for closing this case |
Select one of the predefined reasons for closing the case from the drop-down list box. The available reasons include the following:
If the user wants to enter a free-form text reason, select ‘Other’, and enter the reason in the Details field. |
Submit |
Click this button to close the case. When the user clicks this button, the system changes the case status to the value that is specified in the Closed Case Status field on the Case Details page. If a user selects any value other than ‘Other’, the system resolves the case by using the solution that is identified on the Reason and Solution Link page. If no solution is linked to the selected reason code, the system creates one (using the solution type Canned) and updates the Reason and Solution Link page accordingly. If a user entered a reason in the Details field, the system uses the text to create a new solution of type Adhoc. The solution then resolves the case using the newly created solution. When the case gets closed, the solution associated with the reason selected by the employee is saved as the solution that resolved the case. For more details on this, see Association of Solutions with Case Closure Reasons. |
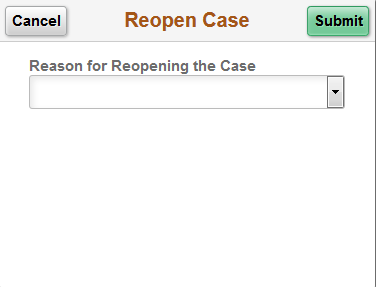
Reopen Case |
Click the Reopen Case button to reopen cases that are closed. User is allowed to reopen a case based on configuration settings. If user is not allowed to reopen case, then the Reopen Case button is not displayed in the Case Details page. On clicking this button, user is presented with a Reopen Case modal window (RC_SS_REOPEN_SCF). |
This example illustrates the fields and controls on the Reopen Case modal window.
Field or Control |
Description |
|---|---|
Reason for reopening the case |
Select one of the predefined reasons for reopening the case from the drop-down list box. The available reasons include the following:
If the user wants to enter a free-form text reason, select ‘Other’, and enter the reason in the Details field. |
Submit |
Click this button to reopen the case. When the user clicks this button, the system changes the case status to the value that is specified in the Reopen Case Status field on the Case Details page. |
Case Details Page: Notes and Solutions Tab
Use Case Details page: Notes and Solutions tab (RC_SS_UPDATES_FL) to view the most recent Notes and Solutions added to the case by the agent or employee (or an eligible case contact). User can view the solution summary, description, and status. User can add a Note or select a view that shows only notes, solutions or both. It is also possible to attach one or more files to the note.
Navigation:
On the Case Details page, click the Notes and Solutions tab.
This example illustrates the fields and controls on the Case Details Page: Notes and Solutions tab for the tablet.

This example illustrates the fields and controls on the Case Details Page: Notes and Solutions for the smartphone.
Note: For smartphones, Notes and Solutions, Details, and Contact details are available by selecting the corresponding value from the View field.
Click the solution summary to view the details corresponding to that solution. User is also provided with an option to email the solution to themselves or others; and can view how many people find this solution as helpful.
Field or Control |
Description |
|---|---|
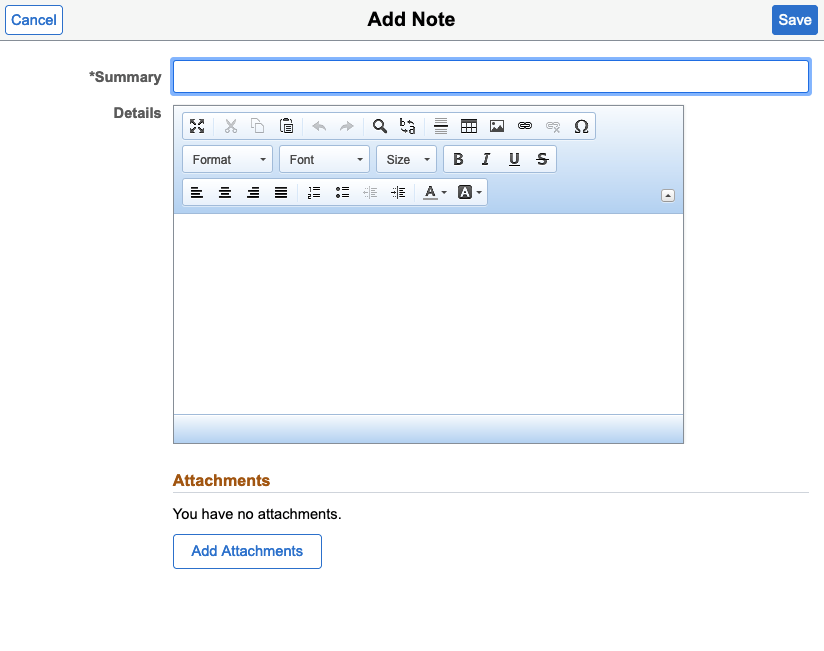
Add Note |
Click the Add Note button to add a new case note and attachment. On clicking this button, user is presented with a modal window (RC_SS_NOTE_ADD_SCF). |
This example illustrates the fields and controls on the Add Note modal window.
Field or Control |
Description |
|---|---|
Add Attachments |
Click this button to select a file to add as an attachment to the note. |
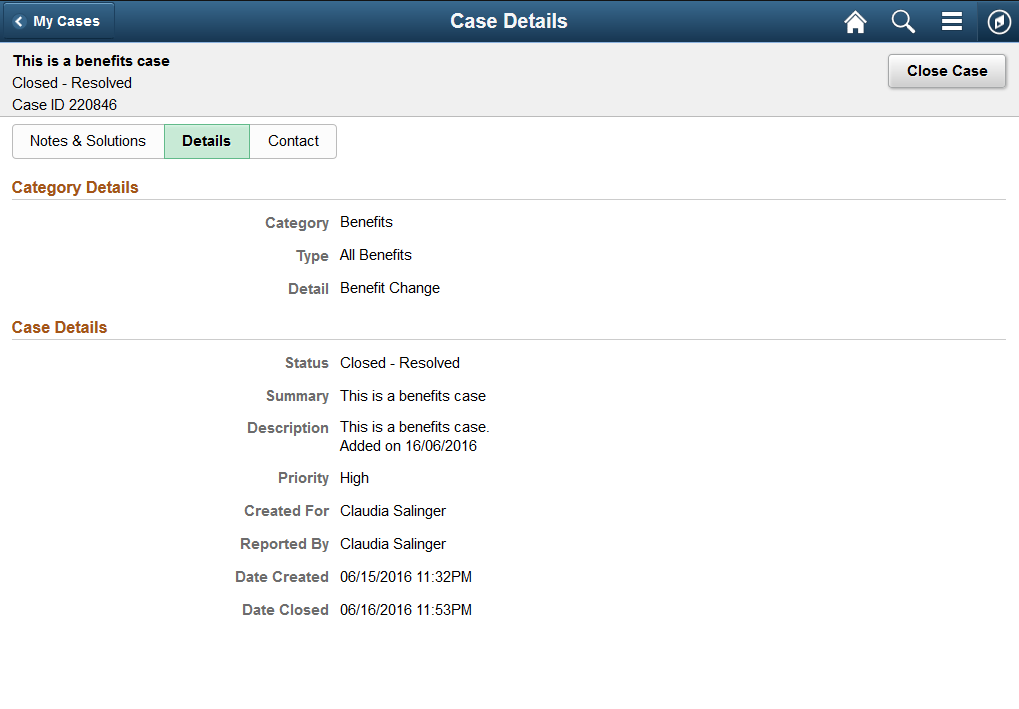
Case Details Page: Details Tab
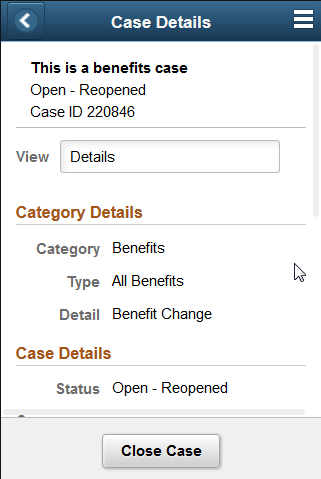
Use Case Details page: Details tab (RC_SS_DETAILS_FL) to view the case details such as category, status, summary, and the like.
Navigation:
On the Case Details page, click the Details tab.
This example illustrates the fields and controls on the Case Details page: Details tab for the tablet.
This example illustrates the fields and controls on the Case Details page: Details for the smartphone.
Case Details Page: Contact tab
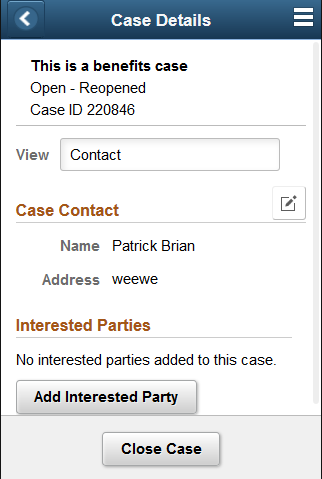
Use the Case Details Page: Contact tab (RC_SS_CONTACT_FL) to view the contact person for the particular case and allows the employee to edit the case contact. User can add or remove interested parties to their case. The tab also displays the interested parties added by the user or agent.
Navigation:
On the Case Details page, click the Contact tab.
This example illustrates the fields and controls on the Case Details Page: Contact tab for the tablet.
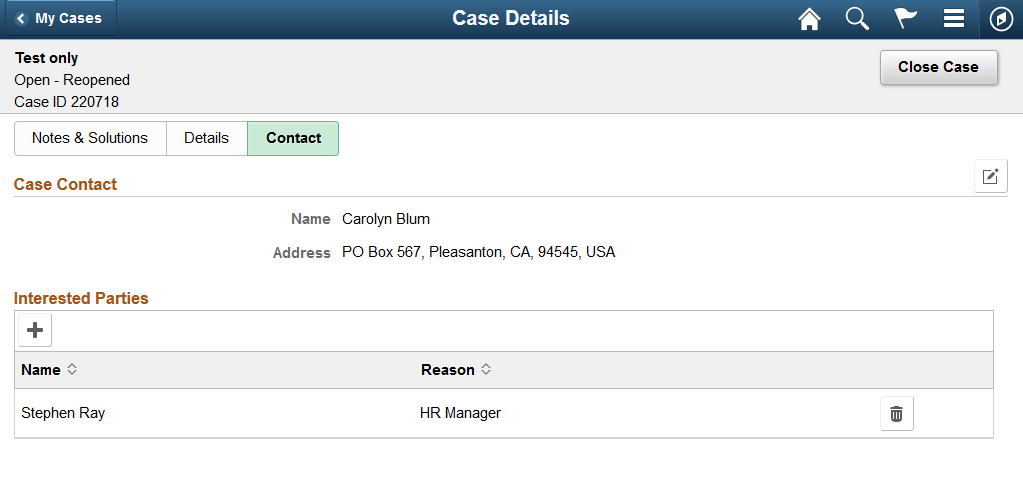
This example illustrates the fields and controls on the Case Details Page: Contact for the smartphone
Field or Control |
Description |
|---|---|
|
Click this button to go to the Edit Case Contact modal window (RC_SS_HD_CNTC_SCF), wherein user can change the contact details such as phone number, email, or address specified for a case. You can also select another employee as case contact and modify their contact details. |

This example illustrates the fields and controls on the Edit Case Contact modal window.
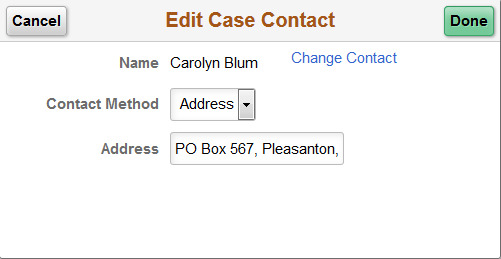
You can change contact information when you are creating a new case or viewing an existing case.
On the Create Case page, the Change Contact link is available only until the case is submitted. After submitting the case, use the Edit Case Details Page to change the contact information.
Click the Add Interested Party button to select the employee and go to the Add Interested Party modal window (RC_SS_INTPARTY_SCF).
This example illustrates the fields and controls on the Edit Case Contact modal window.
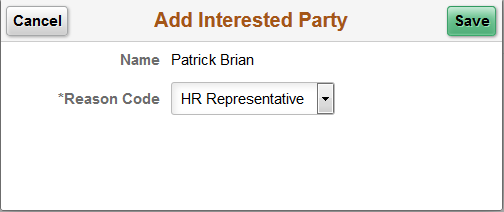
Select the reason for adding the interested party, and click the Save button to add an interested party to the case.