Using the PeopleSoft Fluid Interface to Create Case
Employees use the Create Case tile to access the Create Case wizard.
|
Page Name |
Definition Name |
Usage |
|---|---|---|
|
CR_RC_SS_CCASE_FL_GBL |
Use Create Case tile to access Create Case wizard, where you can describe and submit a new problem using a step by step guided process. |
|
|
RC_SS_HHD_STEP1_FL |
Use Create Case page to select or enter category, type, and details of the case. |
|
|
RC_SS_HHD_STEP2_FL |
Use Enter Details page to specify the case details and attaching file(s) to the corresponding case. |
|
|
RC_SS_HHD_SUBMT_FL |
Use Review and Submit page to review and submit the case. |
Employees use the Create Case tile to access the Create Case wizard..
Navigation:
Click the HR Service Center tile available in the Employee Self Service home page. The Create Case tile is available on the HR Service Center dashboard.
This example illustrates the Create Case tile for the tablet.
This example illustrates the Create Case tile for the smartphone.
Use the Create Case wizard to describe and submit a new problem using a step by step guided process.
The Case Creation process is a guided process through which a self-service user can create a case. Instead of showing all case fields on a single page, an administrator can configure multiple steps for the case creation process. The administrator can specify the fields that will be displayed on each page and a description of each step. Display Template is used for setting this up.
The visibility of page elements depends on how you configure the display template for this component. Also, some fields can be assigned default values based on business unit settings. The system enters default values even if the fields are hidden
The Create Case wizard can be a single step, two step, three step, or four step process based on how it has been set up by the Administrator in the Display Template (CRM_HHD_CCASE_FL).
The display template for Self Service Case allows the administrator to:
Control individual step description in the case creation process.
Select the fields to be displayed in each step.
Enter the label for each step.
For details on display template setup, see Pages Used to Configure Display Templates for Components and Appearance and Behavior Control
When a case is created or updated, push notifications are triggered. For more details on push notifications, refer Understanding the Push Notification Framework in PeopleTools: Fluid User Interface Developer’s Guide.
By default, the Create Case Guided Process involves the following three steps:
Select Category
Enter Details
Review and Submit
This topic will take you through the pages involved in these steps.
Navigation:
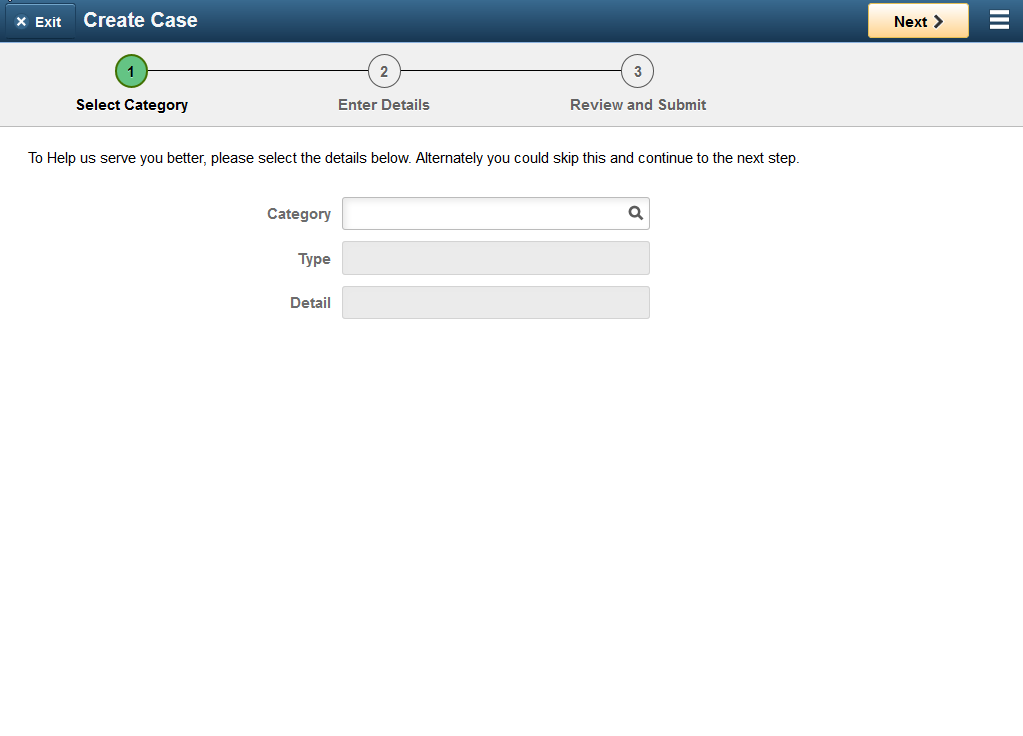
Click the Create Case tile to access the Create Case wizard. Select Category page is displayed, by default.
This example illustrates the fields and controls on the Select Category page for the tablet.
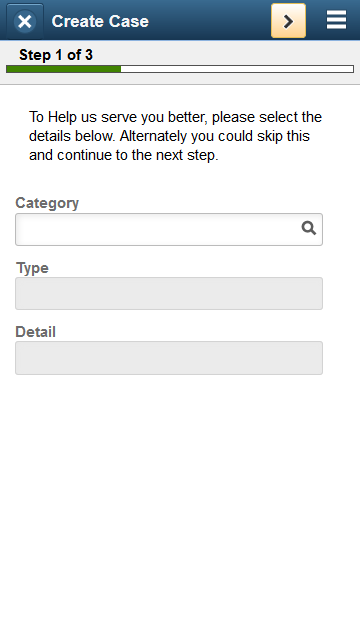
This example illustrates the fields and controls on the Select Category page for the smartphone.
Field or Control |
Description |
|---|---|
Category, Type, and Details |
Select or enter information in these fields to describe the type of problem you are having. |
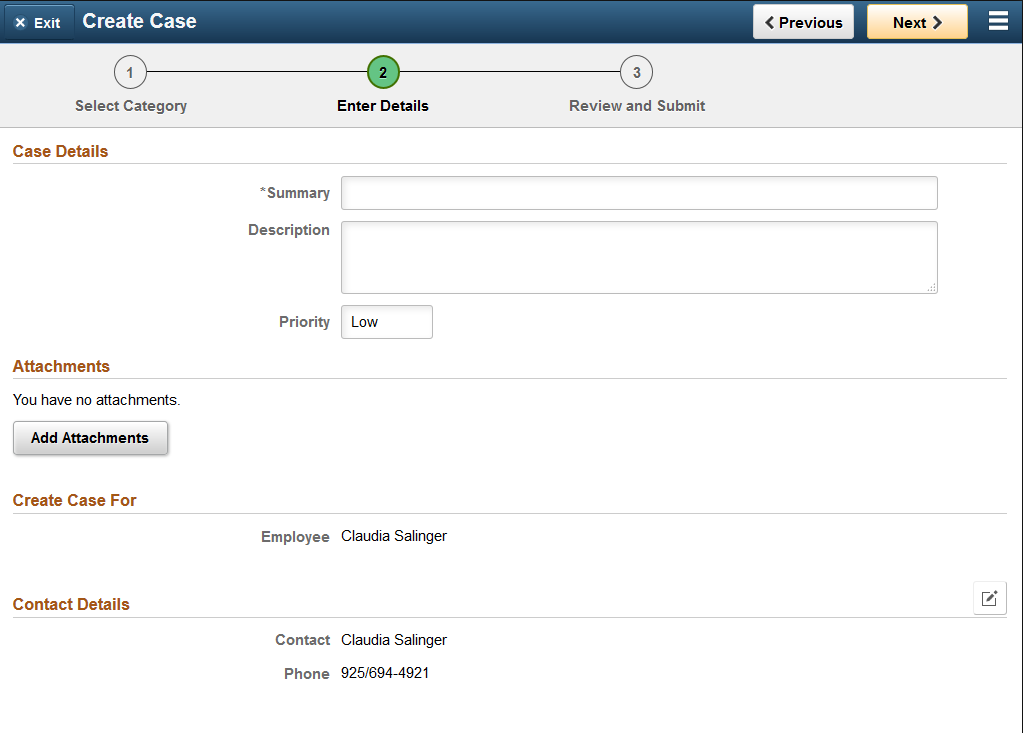
Use Enter Details page to specify the case details and attaching file(s) to the corresponding case.
Navigation:
Click step 2 or Enter Details, at the top of the page to navigate to the Enter Details page in the guided process.
This example illustrates the fields and controls on the Create Case — Enter Details page for the tablet.
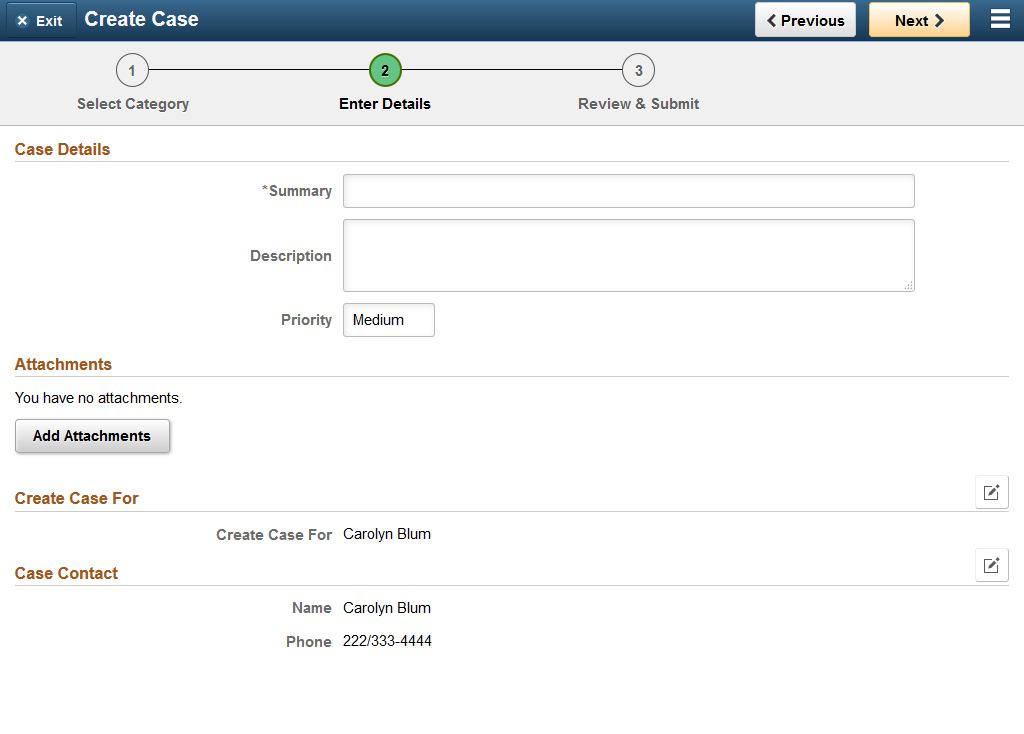
If the logged in user is a manager, the Enter Details page is displayed as shown:
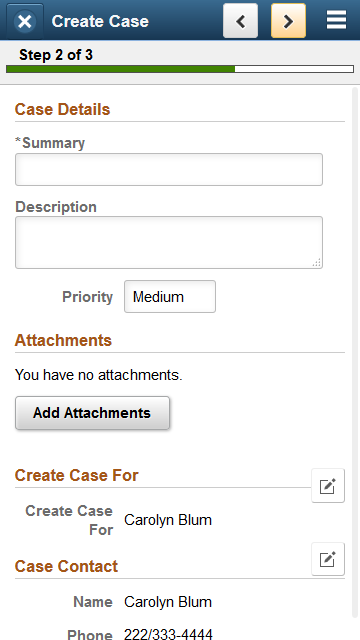
This example illustrates the fields and controls on the Enter Details page for the smartphone.
Field or Control |
Description |
|---|---|
Case Summary, Description, and Priority |
Select or enter information in these fields to describe the type of problem you are having. |
Add Attachment |
Click this button to attach a file to the case. |
Create Case For |
This field displays the name of the employee. |
Contact Details |
This read-only field displays the contact's primary contact method. |
|
Click this button in the Create Case For field to report a case on behalf of one of the people reporting directly to you. The system displays a list of your direct reports. |
|
Click this button in the Case Contact field to change the contact person specified in the Customer field or the Employee field. |

Use Review and Submit page to review and submit the case.
Navigation:
Click step 3, Review and Submit, at the top of the page to navigate to the Review and Submit page in the guided process.
This example illustrates the fields and controls on the Review and Submit page for the tablet.
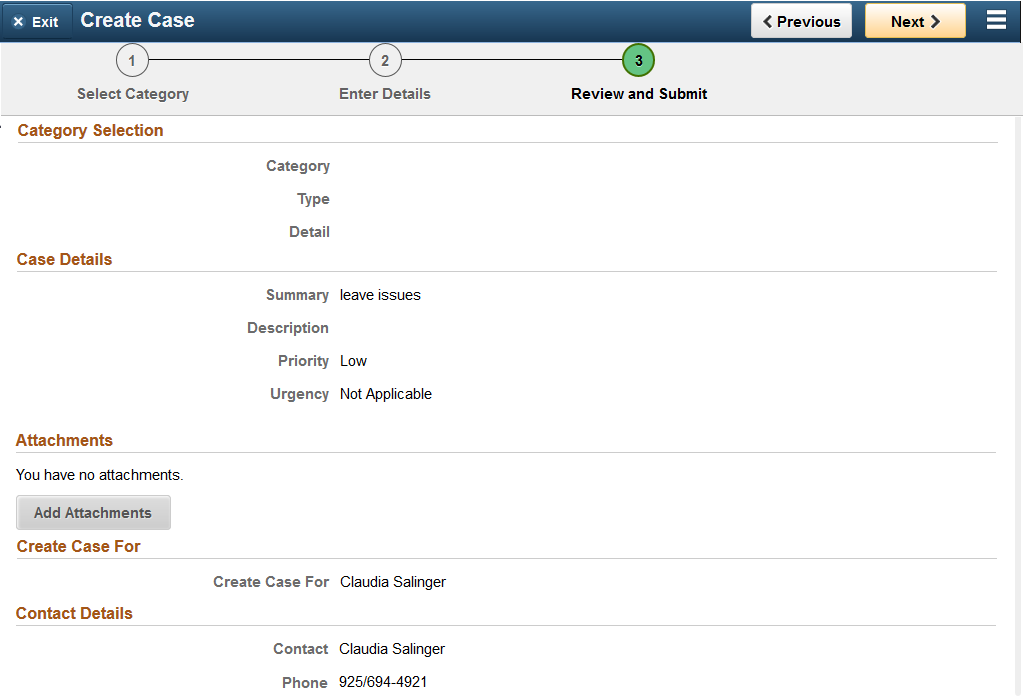
This example illustrates the fields and controls on the Review and Submit page for the tablet.
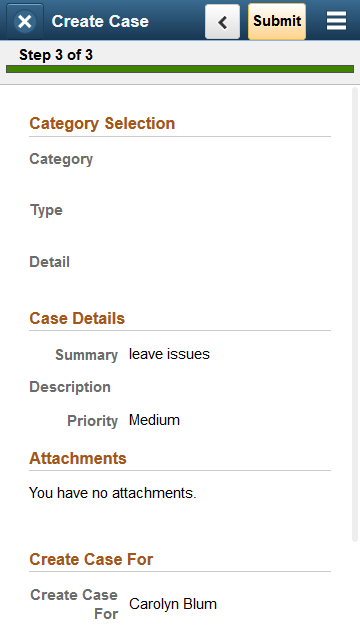
Click Submit button to submit the case. When the user clicks the Submit button, the user is presented with a Case Submitted page with the case number as shown.
This example illustrates the Case Submitted page with the case number.
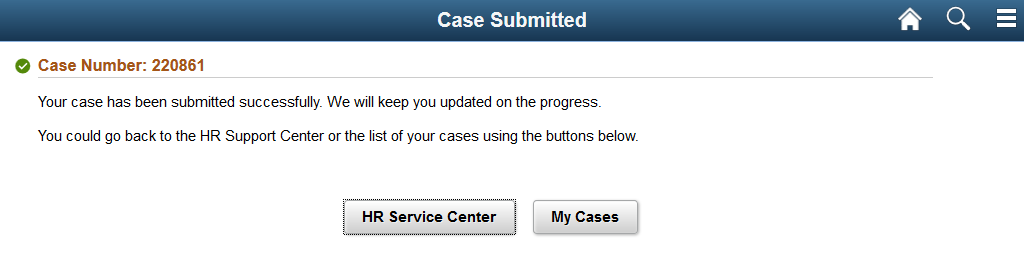
The user can click HR Support Center button to go back to the HR Service Center landing page.
Click MY Cases button to view the list of cases created by the user.